

Spending long hours sitting at a desk can lead to poor posture, tight hips, and chronic back pain. A well-designed standing desk can help break this cycle by encouraging more natural body alignment and regular movement throughout the day. Building a DIY standing desk is an affordable way to customize your workspace while improving ergonomics and overall comfort.
Why a Standing Desk Can Help With Posture and Back Pain
A standing desk on its own is not a magic cure for back pain. However, when designed and used correctly, it can support healthier posture and reduce the strain associated with prolonged sitting. Standing encourages a more neutral spine, activates core muscles, and allows you to shift weight and move more often.
Key benefits of a properly adjusted standing desk include:
- Promoting a neutral spine position instead of a slouched posture
- Reducing pressure on the lower back and hips
- Encouraging more frequent movement and micro-breaks
- Supporting better circulation compared to static sitting
- Allowing quick posture changes between sitting and standing (with a sit-stand setup)
The effectiveness of a standing desk depends largely on its height, stability, and how well it fits your body. This is why a DIY solution can be so powerful: you can adapt the design to your exact needs, rather than adjusting yourself to a generic piece of furniture.
Planning Your DIY Standing Desk: Key Considerations
Before picking up tools and materials, take a few minutes to plan your project. Good planning will help you avoid common ergonomic mistakes and ensure the desk supports your posture, not undermines it.
Main factors to consider:
- Desk height: Your elbows should be at roughly 90 degrees, with forearms parallel to the floor when typing.
- Monitor height: The top of your screen should be at or slightly below eye level to prevent neck strain.
- Workspace size: Enough surface area for your monitor, keyboard, mouse, and any essential accessories.
- Weight capacity: The desk needs to safely support your monitor(s), laptop, and other equipment.
- Available space: Measure the area where you plan to place the desk, including depth and wall clearance.
- Sit-stand flexibility: Decide whether you want a fixed-height standing desk or an adjustable sit-stand workstation.
How to Determine the Right Standing Desk Height
Ergonomics is central to the desk’s effectiveness. The right height reduces strain on your shoulders, neck, and lower back.
Use this simple process to find your ideal desk height:
- Stand upright in comfortable shoes with feet hip-width apart.
- Relax your shoulders and bend your elbows at a 90-degree angle.
- Measure the distance from the floor to the underside of your forearm.
This measurement is your approximate ideal desk height for typing. For most adults, this falls somewhere between 95 and 115 cm (37–45 inches), but taking your own measurement is more accurate than relying on averages.
For the monitor, the top of the screen should be roughly at eye level. If you are using a laptop, consider a laptop riser and an external keyboard to avoid hunching forward.
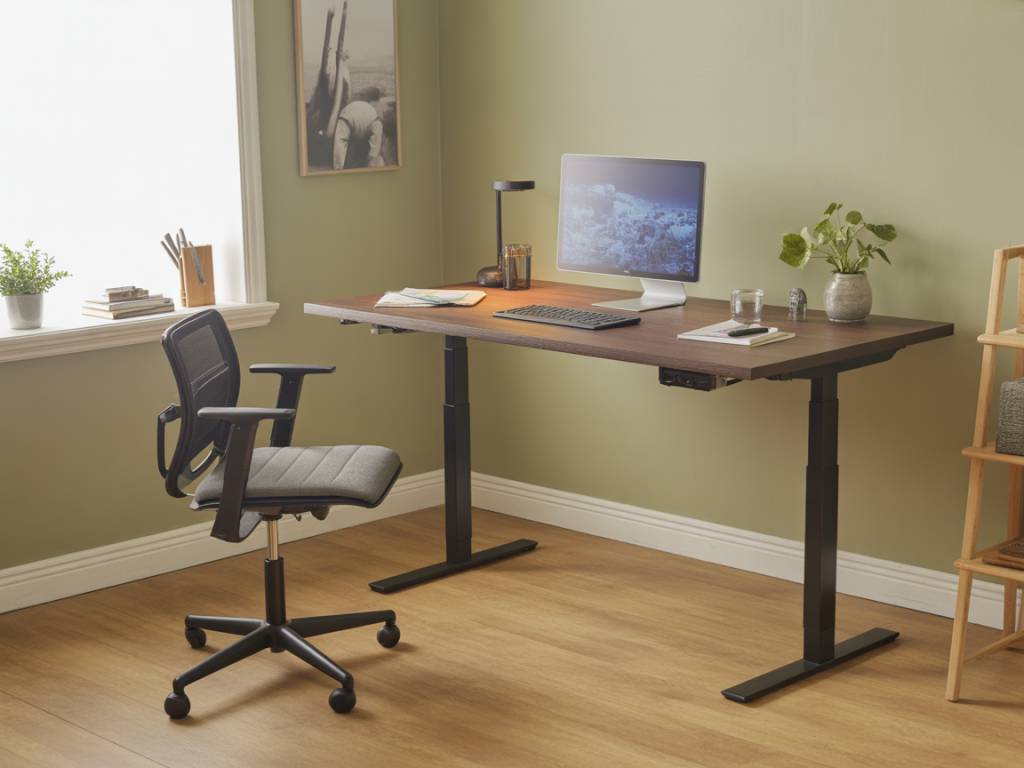
Choosing a DIY Standing Desk Design
There are several approaches to building a standing desk, depending on your budget, tools, and available time. Here are three popular DIY concepts:
- Full-height standing desk: A dedicated desk built at standing height. Ideal if you plan to stand most of the day or use a separate seated workstation.
- Desk riser or converter: A structure you place on top of an existing desk to raise your monitor and keyboard to standing height.
- Adjustable sit-stand desk: A more advanced build that allows you to switch between sitting and standing height, often using crank legs or electric lifting frames.
Full-height and converter designs are usually easier and cheaper for first-time DIYers. Adjustable frames may require more investment but can still be part of a DIY project by combining a purchased lifting mechanism with a custom desktop.
Recommended Materials and Tools
Your choice of materials will affect the desk’s durability, stability, and appearance. Solid wood and quality hardware generally offer the best long-term results.
Common materials for a DIY standing desk include:
- Solid wood boards or a pre-made tabletop (pine, birch, oak, or bamboo)
- Sturdy desk legs or metal frames (fixed or adjustable)
- Wood screws, brackets, and corner braces for extra stability
- Sandpaper, wood stain, or varnish for finishing the surface
- Cable management accessories (cable trays, clips, grommets)
- Optional monitor arm or laptop stand
Basic tools you may need:
- Measuring tape and pencil
- Drill and appropriate drill bits
- Screwdriver or power driver
- Saw (if cutting your own boards)
- Level to ensure the surface is even
- Safety gear (gloves, safety glasses, dust mask)
Step-by-Step: Building a Simple Full-Height Standing Desk
This example focuses on a straightforward, fixed-height standing desk that you can customize to your body and your room. Adjust dimensions depending on your measurements and space.
Step 1: Measure and design
- Decide the width and depth of your desktop (for example, 120 cm x 60 cm / 47 in x 24 in).
- Use your ergonomic measurement to fix the desk height.
- Sketch a simple plan, noting leg placement and any bracing you might need.
Step 2: Prepare the desktop
- Cut your wood board or tabletop to size if needed.
- Sand the surface and edges until smooth to the touch.
- Apply stain, oil, or varnish according to the product instructions and allow it to dry completely.
Step 3: Attach the legs or frame
- Position the legs at the corners or according to the frame instructions.
- Pre-drill holes to reduce the risk of splitting the wood.
- Secure the legs with appropriate screws, tightening firmly.
- Use a level to check that the desktop is even. Adjust if necessary.
Step 4: Add stability
- Install corner braces or cross-bracing between the legs if the desk feels wobbly.
- Consider wall-mounting the back edge with L-brackets if additional support is needed and your wall type allows it.
Step 5: Integrate cable management
- Attach a cable tray under the desktop to keep wires off the floor.
- Use adhesive clips or Velcro straps to group cables together.
- Install grommets or cable pass-throughs if you want a cleaner look.
Step 6: Set up your equipment
- Place your monitor so the top is at or slightly below eye level.
- Position your keyboard and mouse close to the desk edge so your wrists remain straight.
- Test the setup by typing and looking at the screen to check for any tension in your neck, shoulders, or lower back.
DIY Desk Riser: A Quick Option for an Existing Desk
If you already own a good-quality sitting desk, a DIY desk riser can convert it into a standing workstation with minimal modification.
Basic approach:
- Build a smaller “platform” that sits on top of your current desk.
- Ensure the platform height brings your keyboard and monitor to correct standing position.
- Use wide, stable legs or stacked boards with non-slip pads underneath.
The benefit of a riser is flexibility. You can remove it when you want to sit and reinstall it when you prefer to stand, without replacing your existing furniture entirely.
Ergonomic Accessories to Enhance Comfort
Even a well-built DIY standing desk benefits from a few carefully chosen accessories that reduce strain and improve comfort.
- Anti-fatigue mat: A cushioned standing mat reduces pressure on your feet, knees, and lower back during long periods of standing.
- Footrest or balance board: Encourages subtle movement and weight shifting, reducing static loading on joints.
- Monitor arm: Offers fine-tuned height and distance adjustment to keep your neck in a neutral position.
- External keyboard and mouse: Essential if you use a laptop so you can position the screen at eye height.
- Supportive footwear: Comfortable, supportive shoes make a big difference when standing for hours.
How to Use a Standing Desk Without Creating New Problems
Switching abruptly from sitting all day to standing all day can cause discomfort in your legs, feet, and lower back. A gradual approach is generally more sustainable.
Practical tips for healthy use:
- Alternate between sitting and standing every 30–60 minutes.
- Start with short standing intervals (15–20 minutes at a time) and build up gradually.
- Avoid locking your knees; keep them soft and slightly bent.
- Distribute your weight evenly between both feet and change stance regularly.
- Take short movement breaks: stretch, walk around, or do light mobility exercises.
Pay attention to signs of strain. If you feel persistent pain in your knees, ankles, or lower back, review your desk height and posture, and consider consulting a medical or ergonomic professional.
Maintaining Good Posture at Your DIY Standing Desk
Even the best standing desk cannot compensate for poor posture habits. Combining a well-built workstation with mindful alignment is the most effective way to reduce back pain and improve comfort.
Posture guidelines to keep in mind:
- Keep your ears, shoulders, and hips roughly aligned in a straight line.
- Relax your shoulders down and back, rather than rounding them forward.
- Engage your core muscles gently to support your lower back.
- Keep your screen at arm’s length to avoid leaning forward.
- Position frequently used items within easy reach to avoid twisting and overreaching.
Integrating these habits with your DIY standing desk setup can result in less tension, better posture, and a more comfortable workday.